Looking to learn step-by-step how to install & configure Contact Form 7?
You’re in the right place!
Everyone needs to have a form on their site, even if it’s just for providing your visitors a simple and easy way to contact you without exposing your email address to spam bots.
There are a bunch of contact forms available now, but one of the oldest and most trusted WordPress contact form plugins is the Contact Form 7 plugin.
This lesson covers how to get the free plugin, Contact Form 7 installed and get your first form setup.
How To Install & Configure Contact Form 7
Okay, welcome back. We are building your WordPress framework here. We are doing that by adding some additional features and functionality to your new self hosted WordPress site.
In this video, we are going to cover getting a form plugin installed. A form plugin is something that gives you the ability to create forms on your website like for contact us form or if they’re like a new business inquiry form or, those kinds of things you can create using this plugin that we’re going to use.
Let’s go ahead and click on Add New.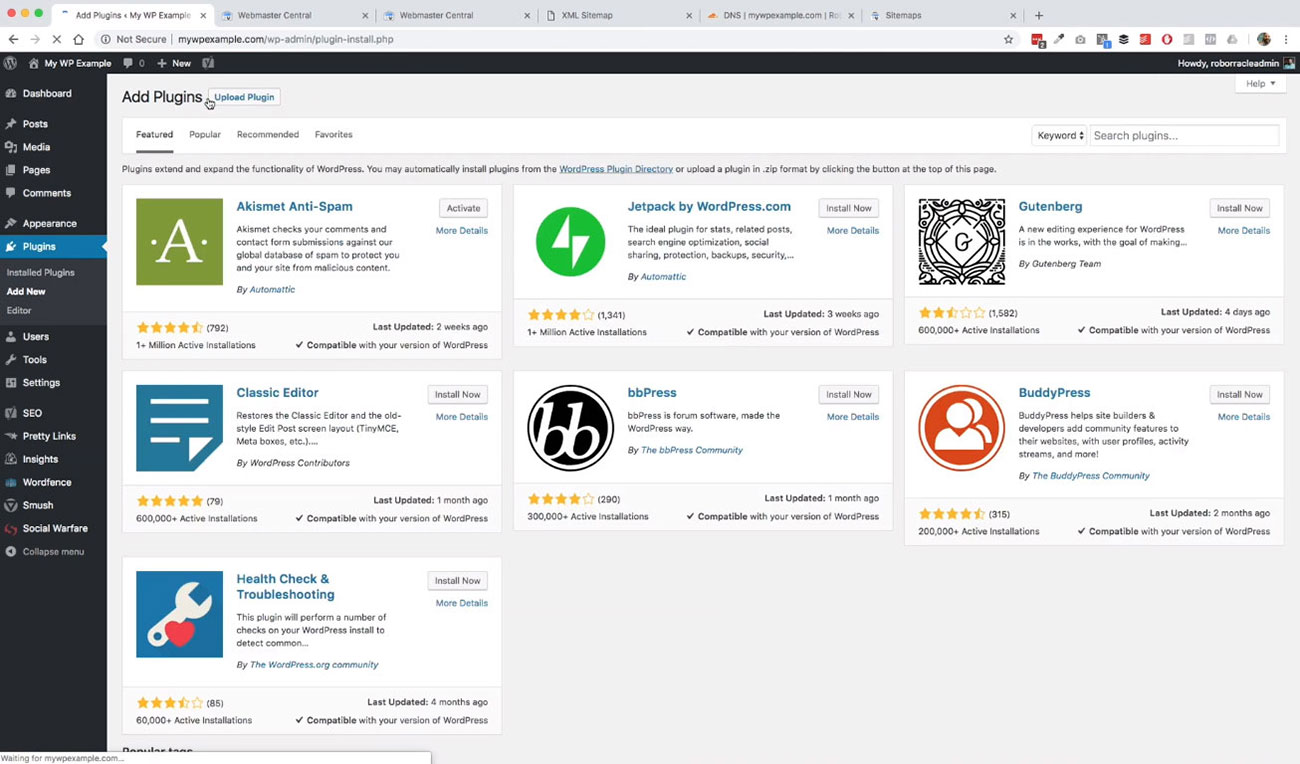 The plugin that we’re going to be looking for here is coming Contact Form 7. The one that we’re looking for here is this Contact form 7 right here so the first one. We’re going to go ahead and click on Install Now.
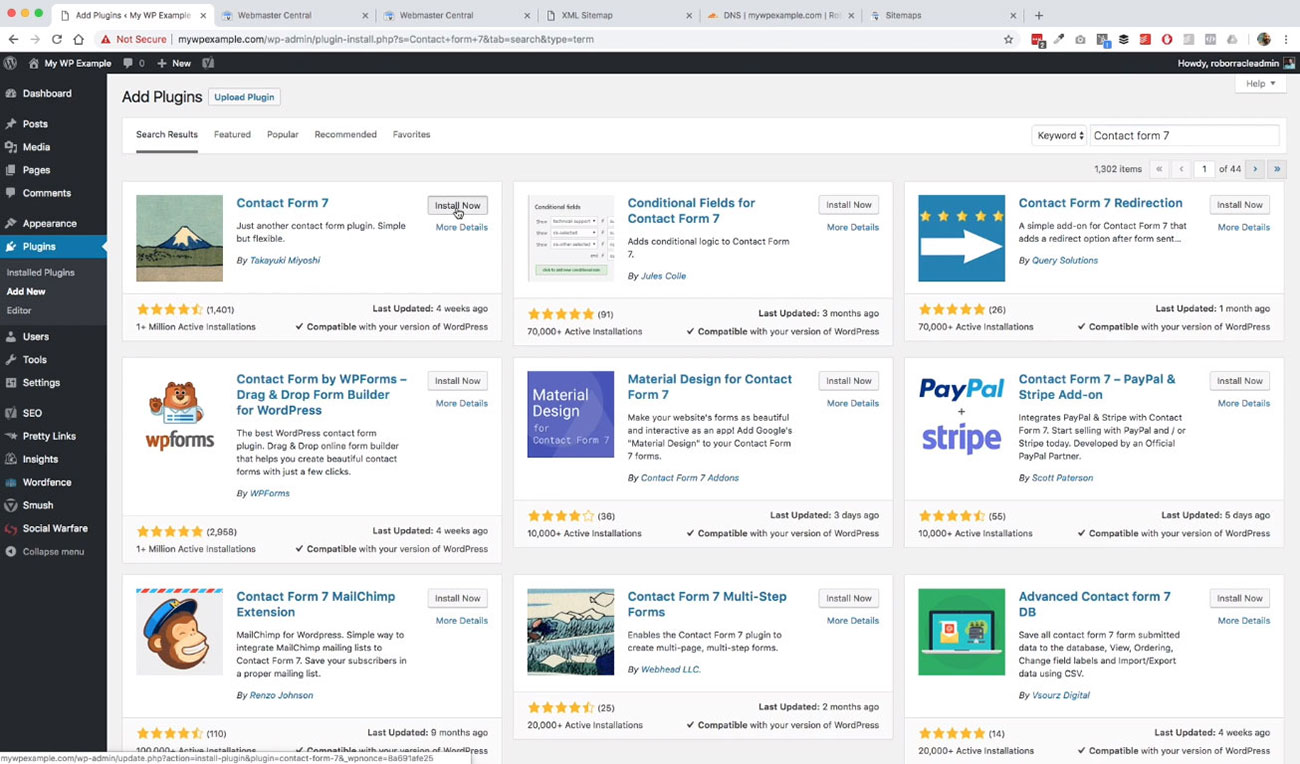
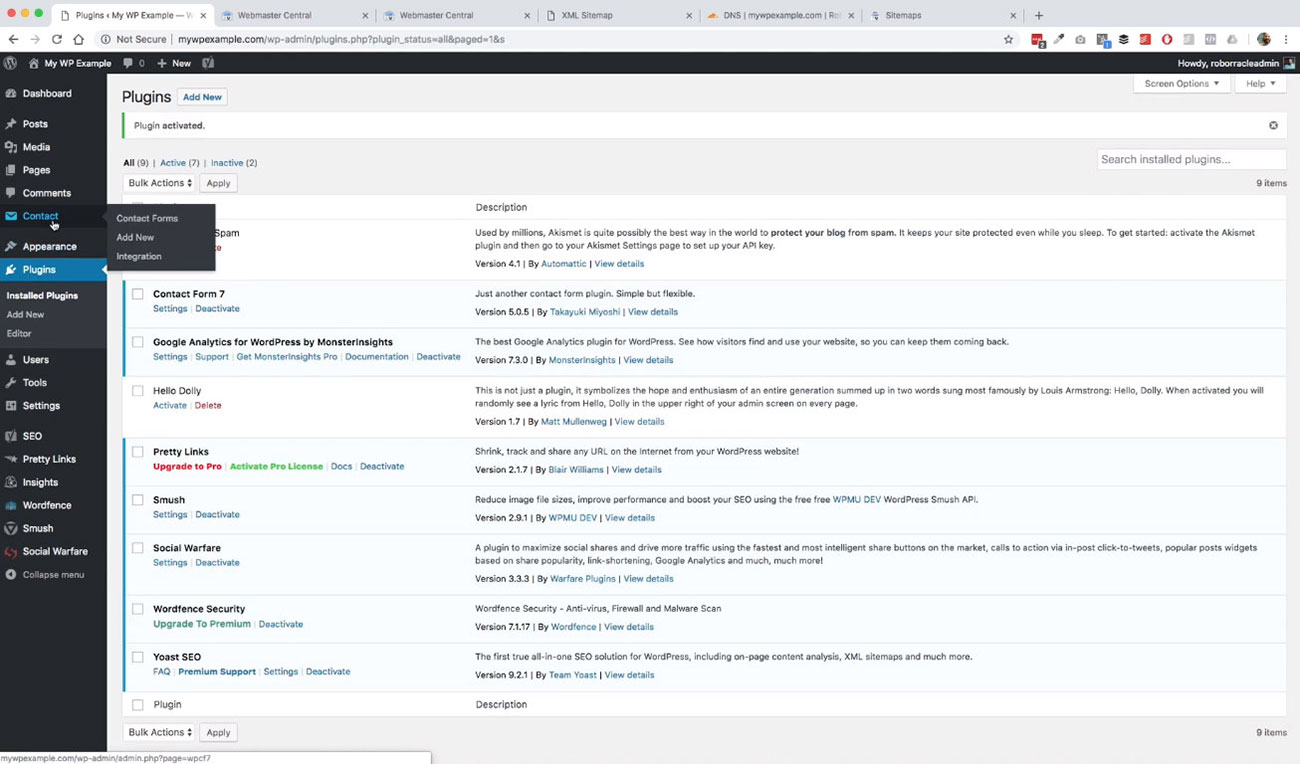
Go ahead and make sure it’s activated. Now that we have it activated, we’ll see a new item over here in our sidebar that allows us to go ahead and start creating forms.
Let’s go ahead and click on this will take a look at the default form that is created for us.
We’ll go ahead and get it added to a page.
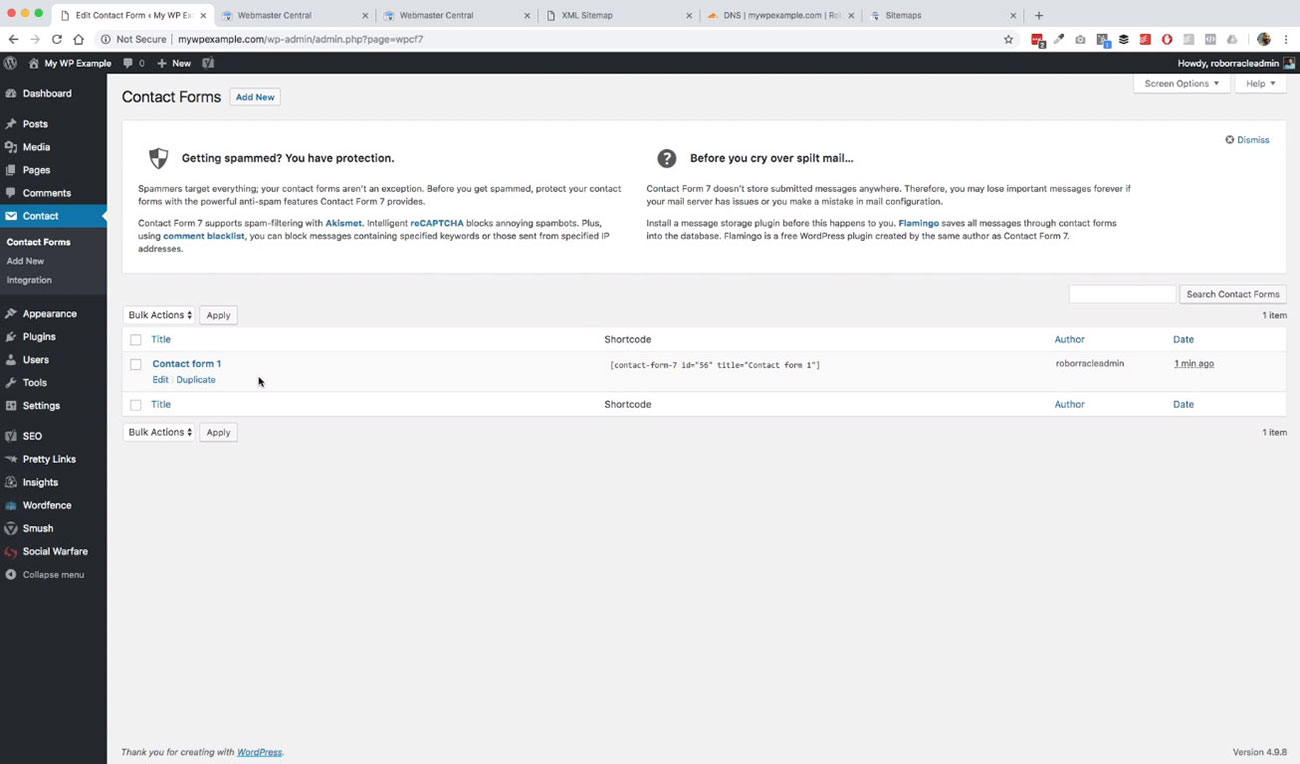
This is the one that is created for us by default once we’ve installed and activated this particular plugin.
Let’s go ahead and take a look, well click on Edit. This is what the interface is going to look like.
 You can make this whatever you want to make in terms of what’s available for you in your form.
You have lots of different options for different things that you can add into your form: radio buttons, quiz, recapture, which is a spam detection plugin file, or the submit button. All these are available to you here.
You can create really complex forms with this one. This one is a free plugin. There are also other great plugins.
Gravity Forms is the one that I like. There’s also Ninja Forms. There are several other form tools that are out there that are premium plugins that you may want to look at that may have a little bit more robust functionality and a little nicer interface if you’re not comfortable with working with these particular things.
This is really easy to do. You just got to get used to using this from this screen here. Basically, what you see here are the items that you would see on any regular form.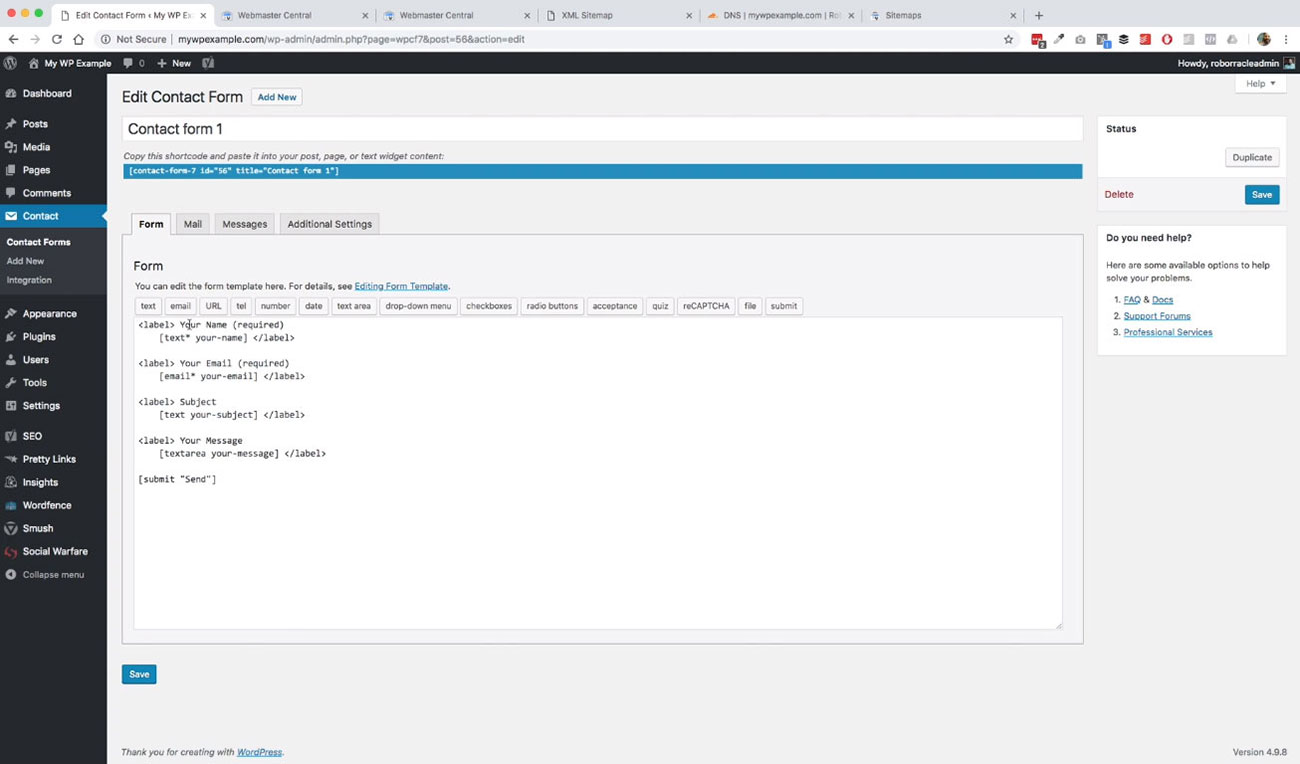 Inside these label tags and this is a tag right here, we have your name, and then we have your email. Then we have subject and your message and then this last one here is the submit button with the message in there to send.
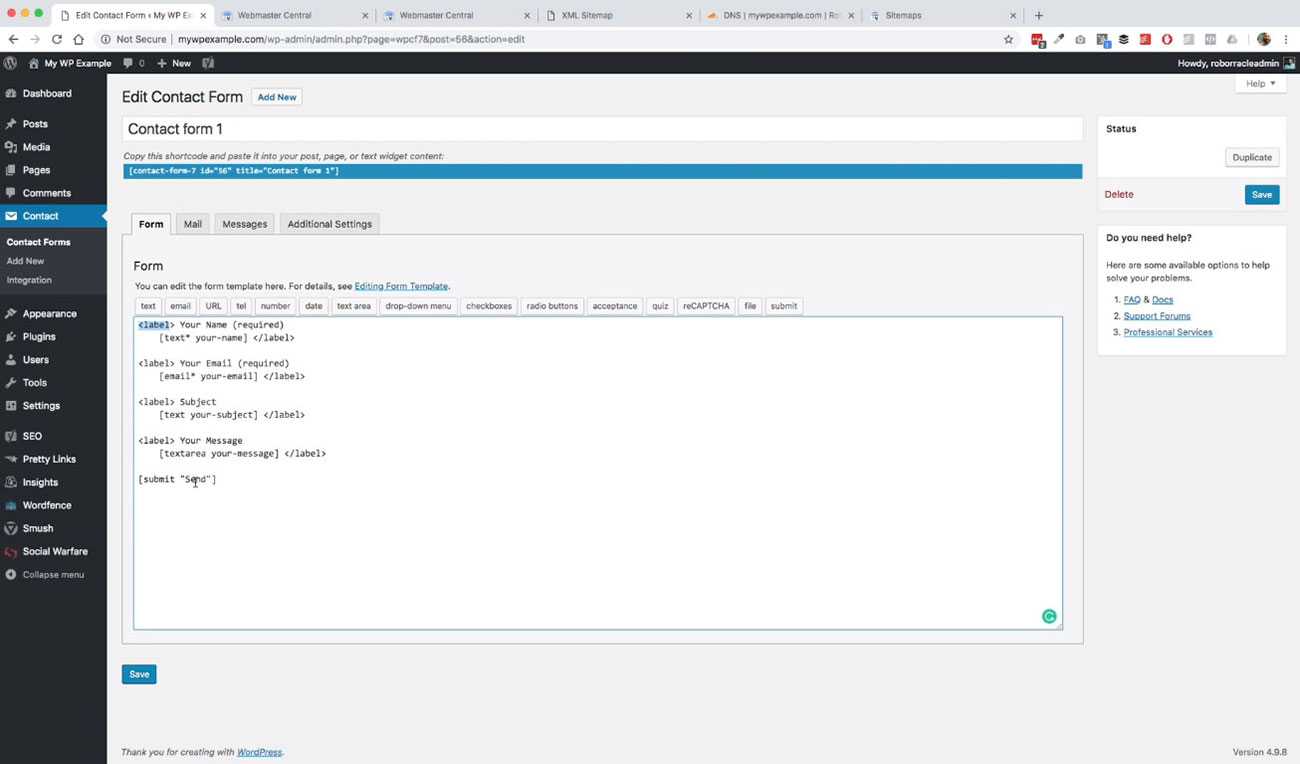
As you can see, you have these items right here, which are short codes for WordPress, not that you need to know a lot about short codes, but this is how the information for this form is kind of put together.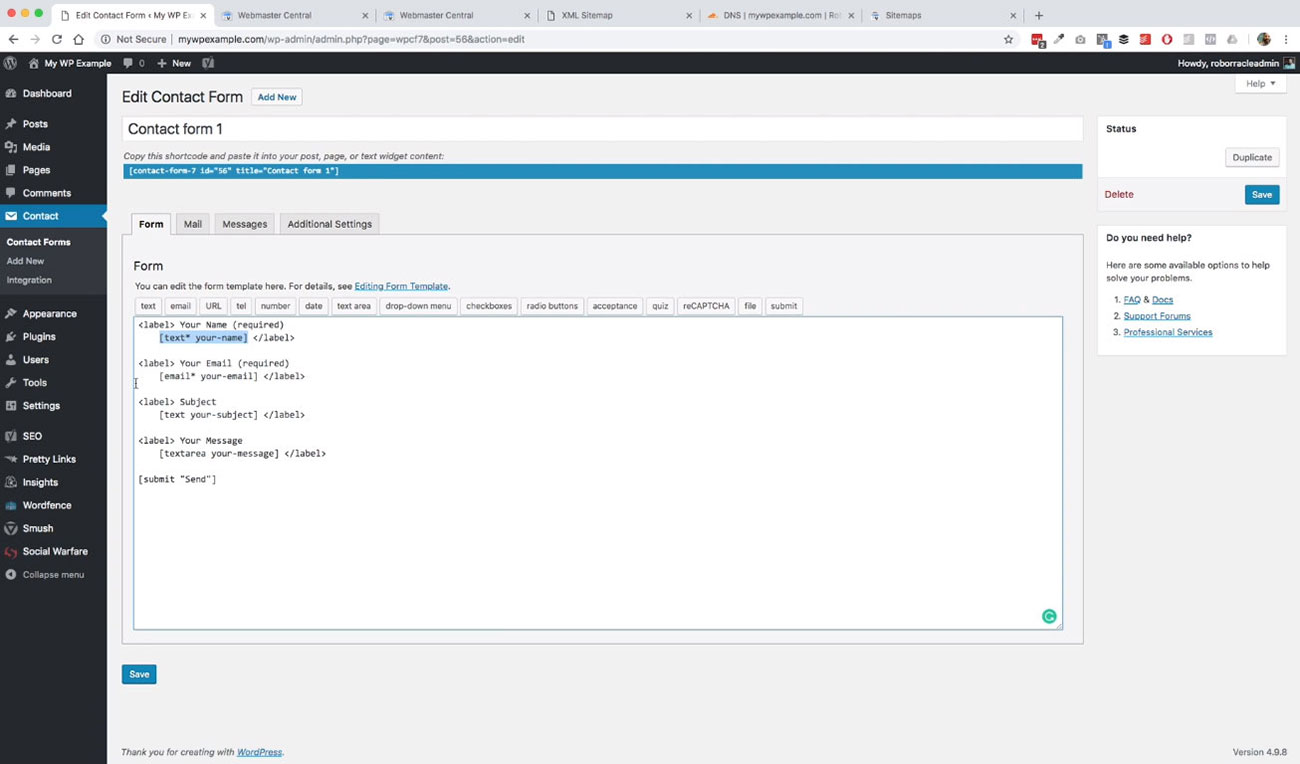
We’ll go ahead and create one, for example. We go ahead and create a new label here. We’ll call this, “our new required URL field.” Then we’ll put in parentheses here required. Then what we’re going to do is click this URL field right here.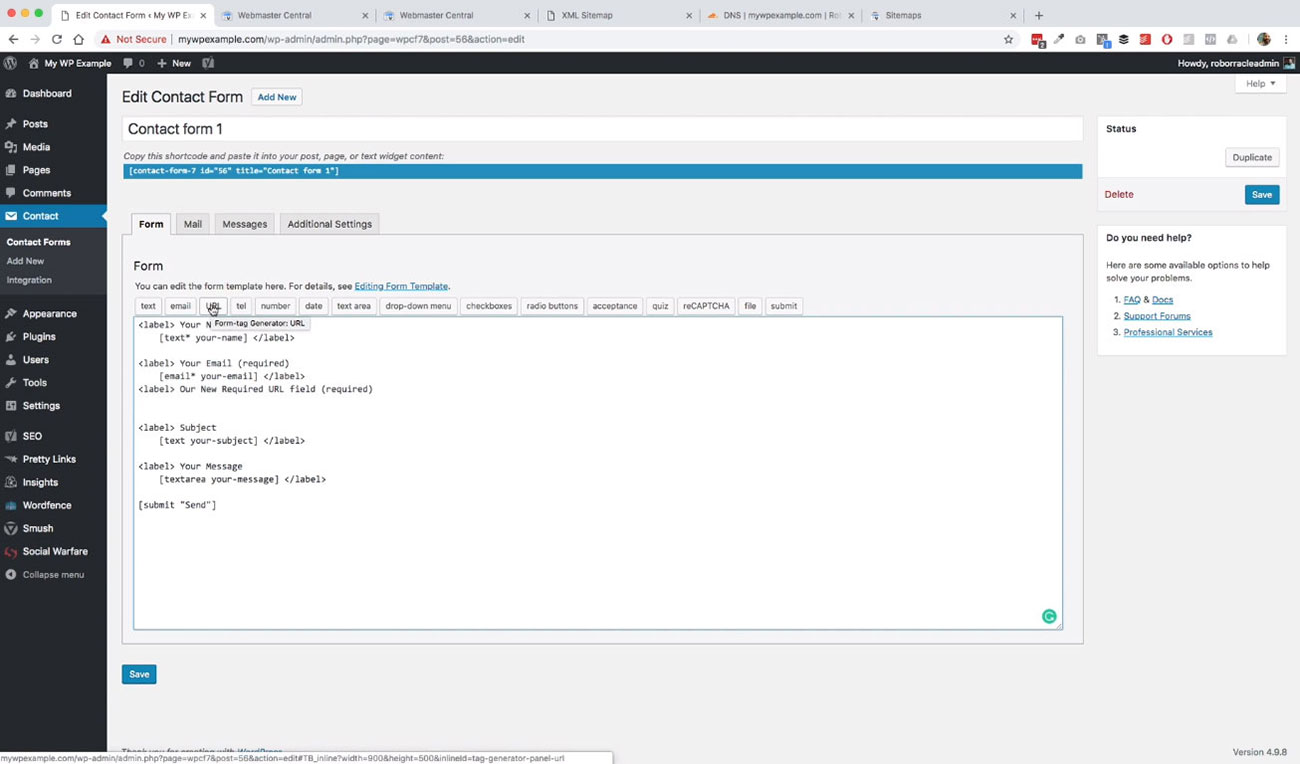
We click this, and it opens up this window, and then it just gives us a couple different options. It says, “Generate a forum tag or single line URL input field.”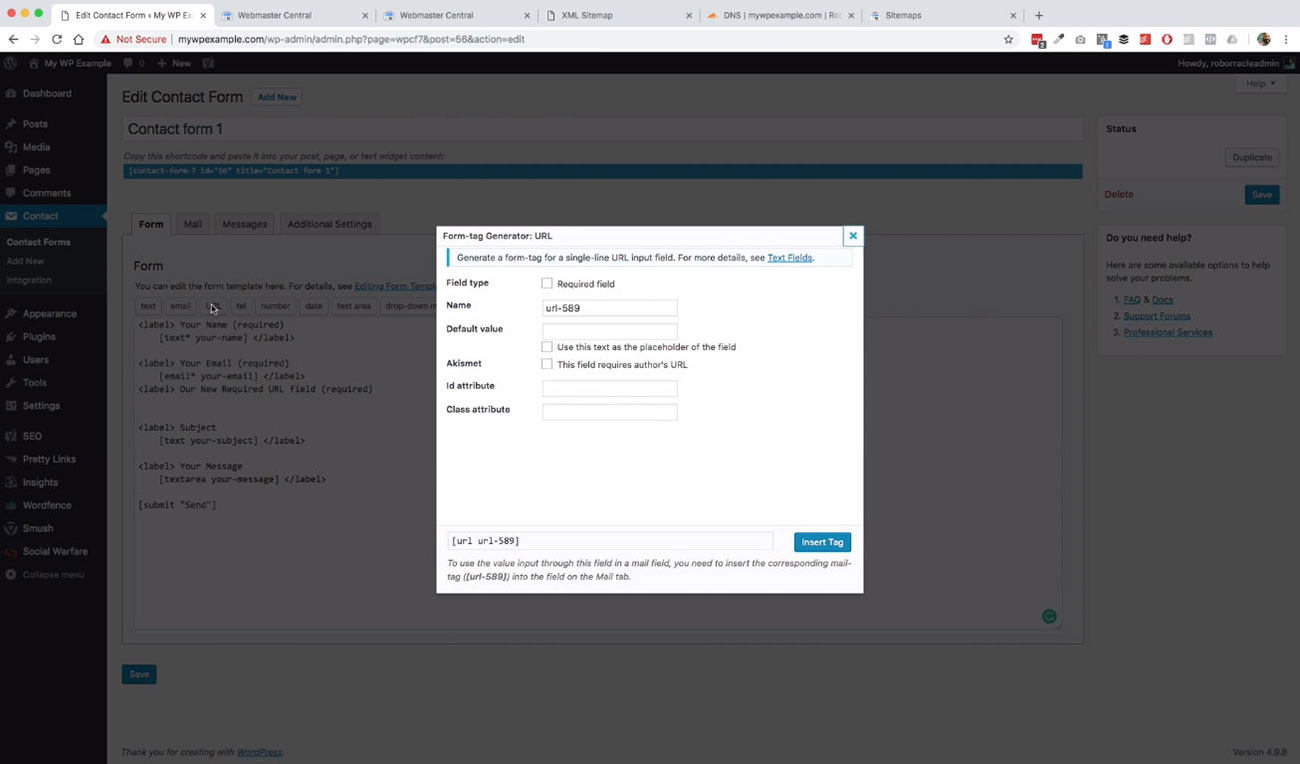
If you’ve got questions you can go through and click on this, which will take you through to their website.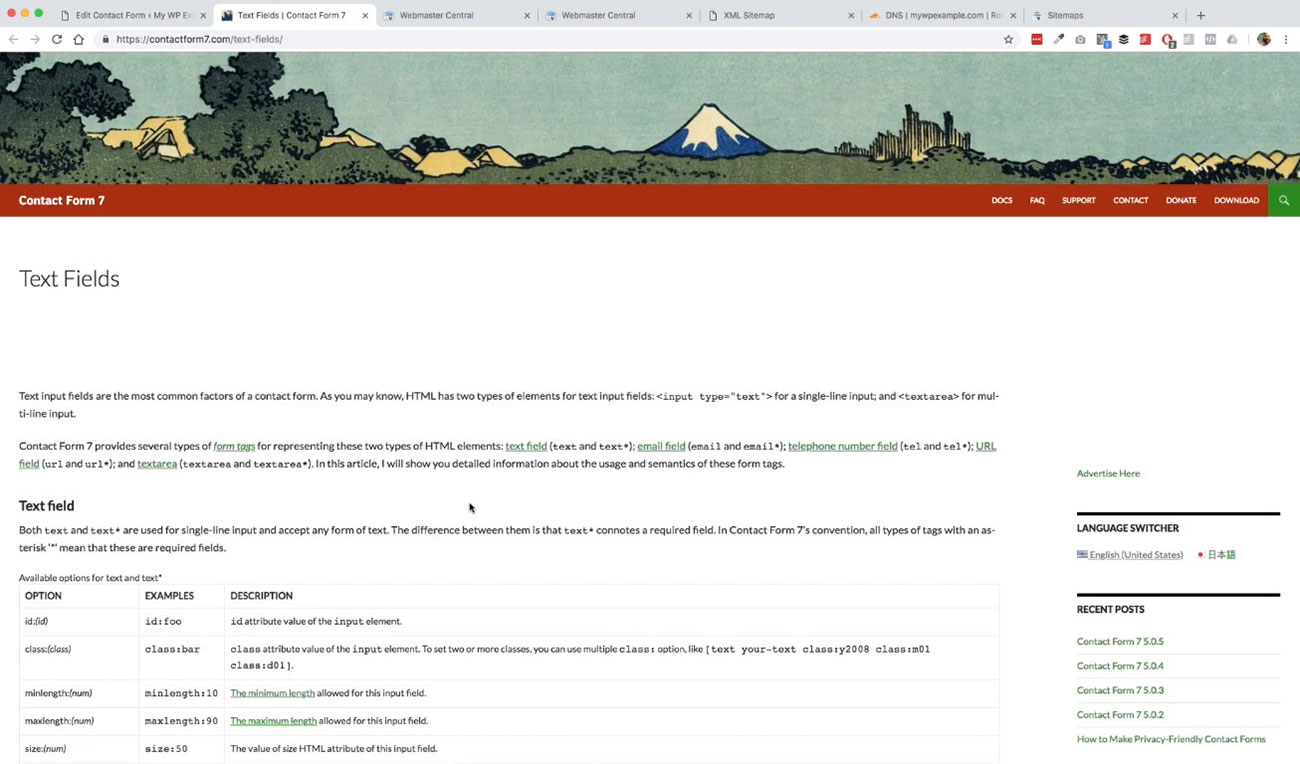 It’s got a little bit more explanation in terms of what these various different things are.
We’re going to go ahead and just leave this pretty much as it stands, we’ll go ahead and make it required.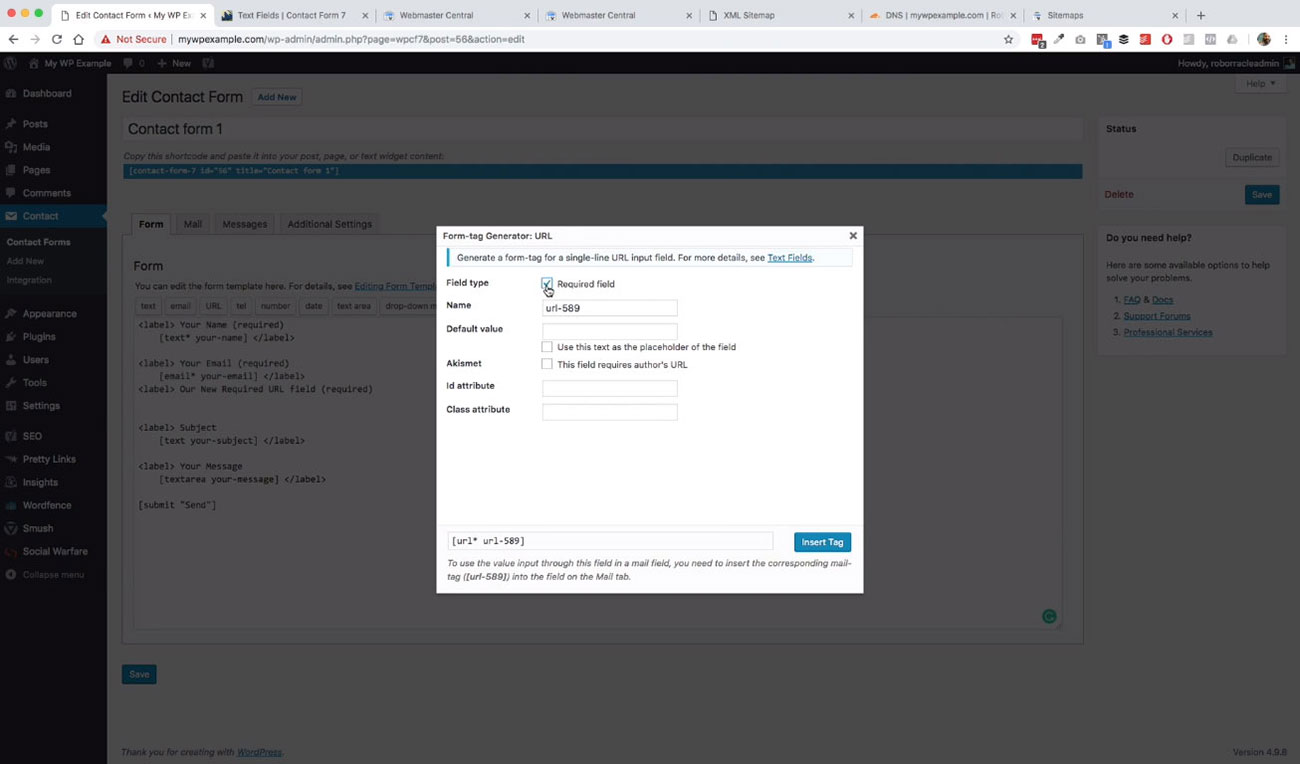 Then we can put in placeholder text if we’d like. Then we’ve a couple other things here, not much here that we need to be concerned with. We’re just going to make it required.
We can just say http://mywpexample.com is the default value that will serve as a placeholder. Then you see down here, we have this line of code that has been created, which if we go ahead and click Insert. Now we’ve got it in here in our form.
Inside of our label tag, and we need to go ahead and close that now. You have this URL with a placeholder of http://mywpexample.com. We’re good to go here.
We’ll go ahead and save that. Then before we do anything else want to go over here and just take a look. This is what is going to be sent in terms of the message from the website to you.
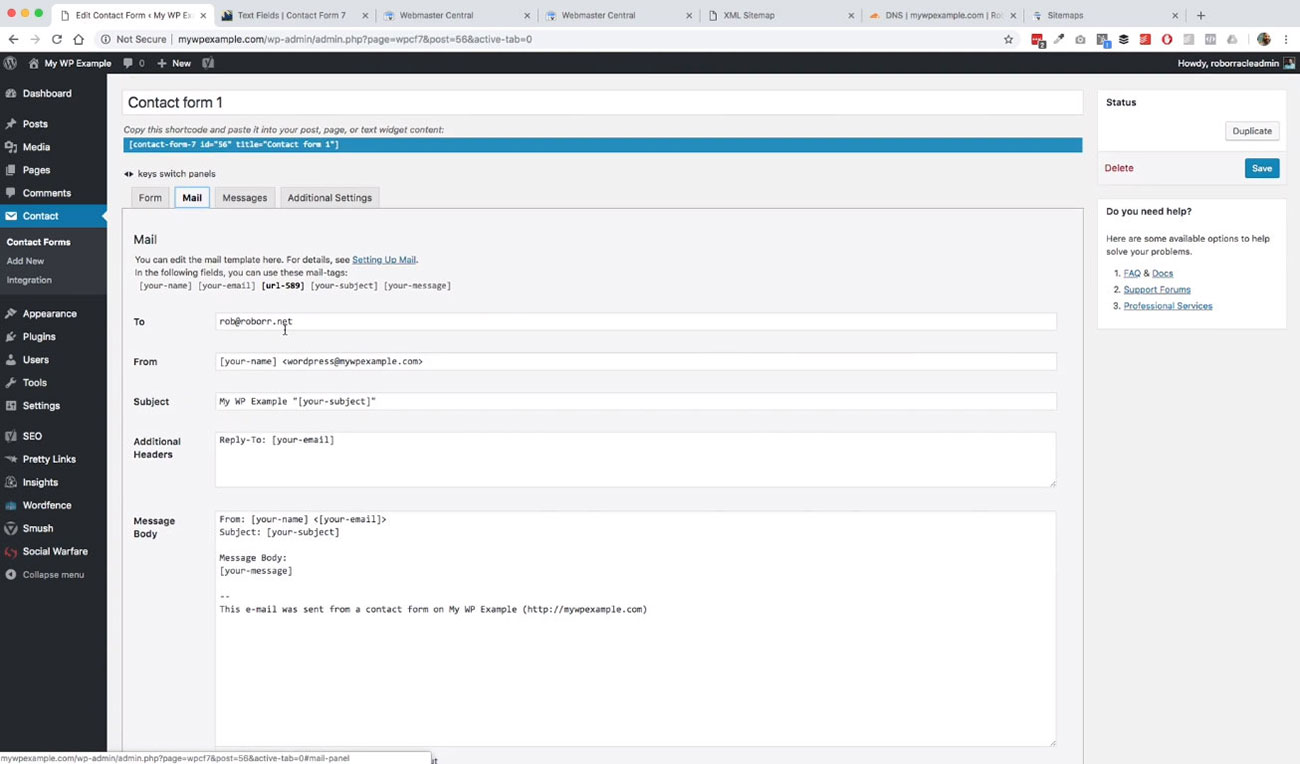
It’s going to go to the email address that you put in here. It’s going to set up a from field, so on and so forth. These are all the default, and you can change these to suit whatever your needs are.
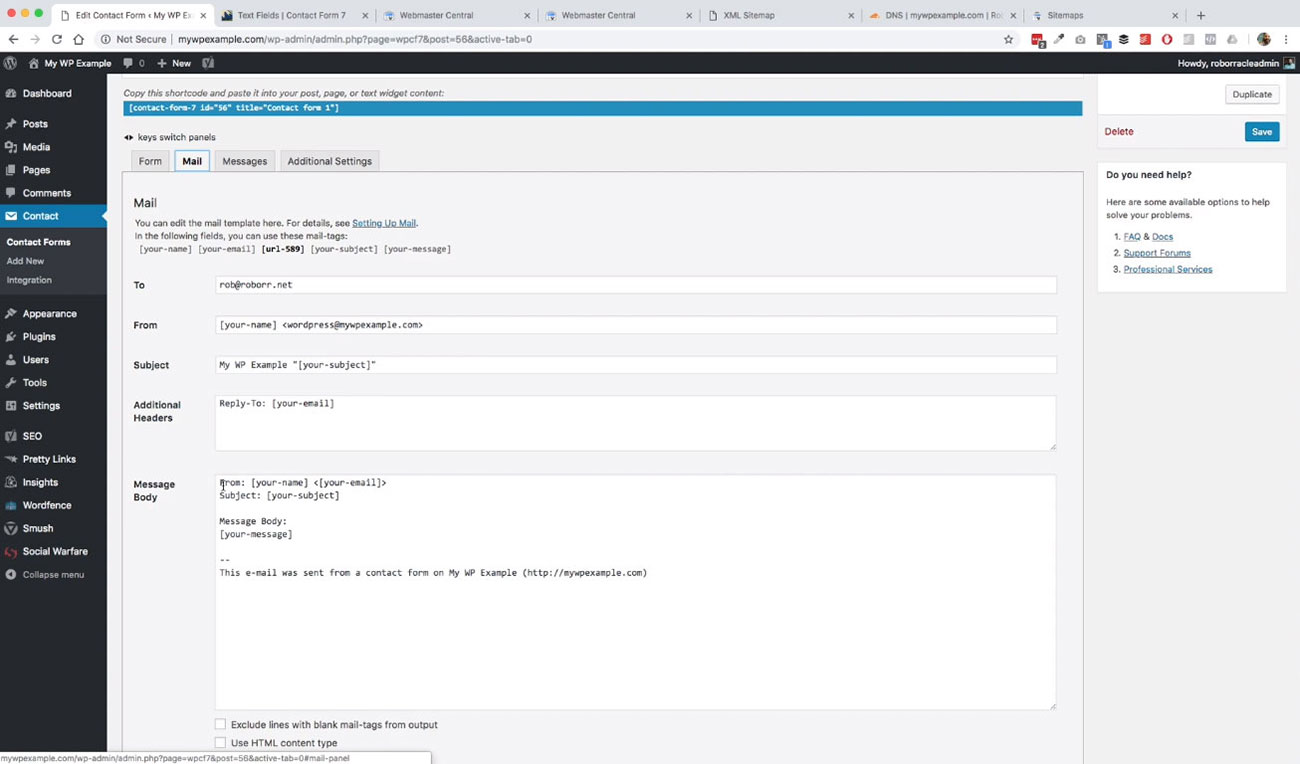 This is what the template is for the messages that are going to be sent to your website. We’re good to go there.
What we’re going to do now is go ahead and grab this because if you see, it says, “copy the short code and paste it into your post page or text widget content.” Basically what that does is the short code gives us the ability to display that form however and wherever we want.
We’re going to create a new Contact Us Now page, and then we’re going to paste in our code. It doesn’t matter whether you’re in the visual editor or in the text editor. The output for this is going to be the same either way.
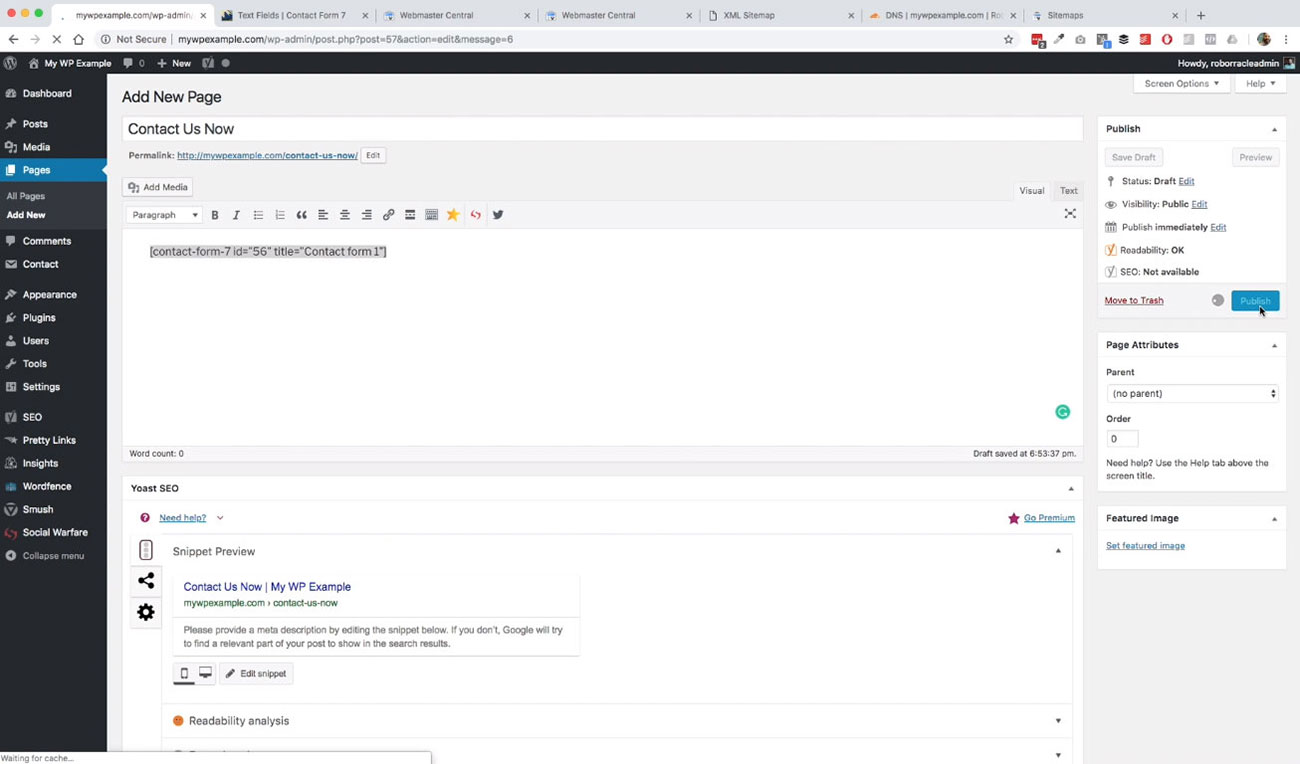 Let’s go ahead and publish and take a look at our page. Alright, so we’re good to go. That’s been published. We’ll go ahead and view that.
 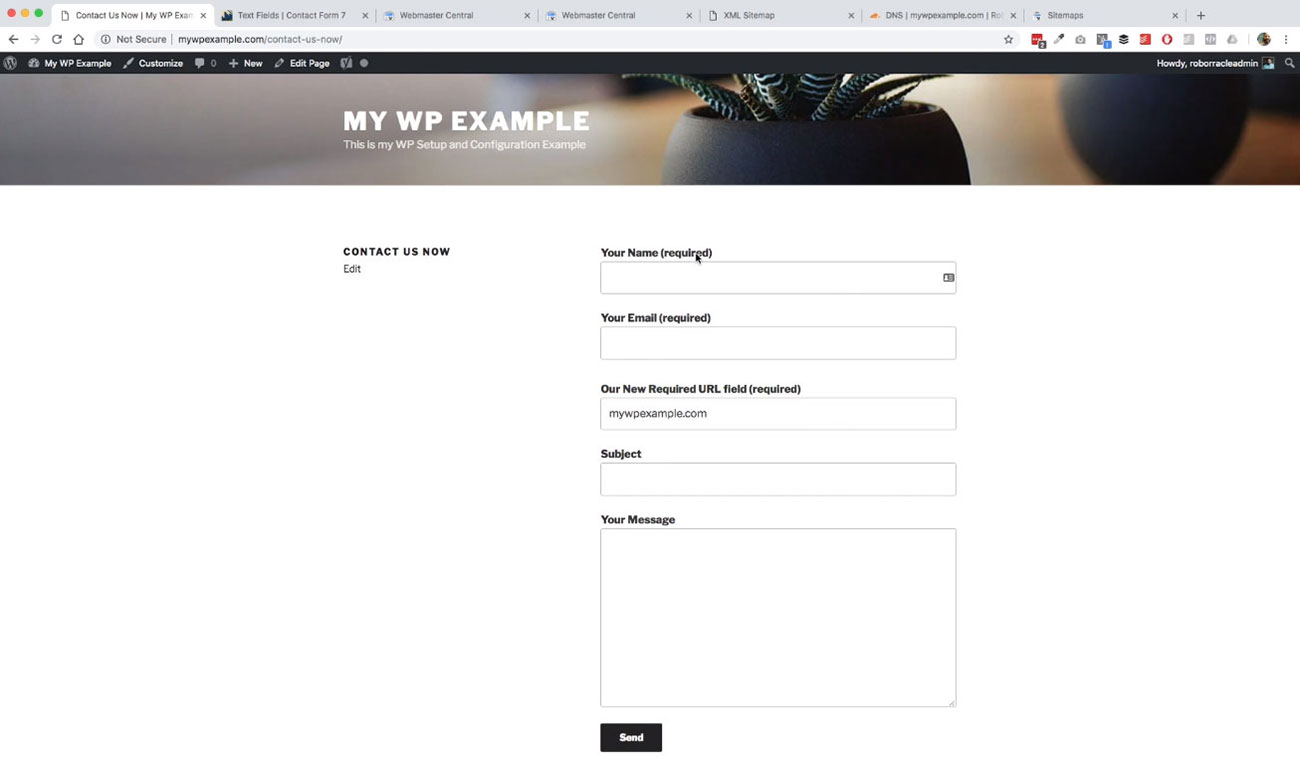 Then now we see we’ve got our form.
We’ve got your name, your email, and then the field that we created, which is our new required URL field. It’s got My WP Example, as a placeholder in there. We could change that to thewpexamples. It’s already taken care of for you. Then subject field, your message and then here is the send button.
It’s super easy plugin to work with here. You can create complex forms with this if you’d like but I like it because it’s lightweight, easy to work with and get you up and running with a form pretty quickly on your website.